This tutorial is for beginners to install an Operating System (OS) on a Raspberry Pi. This series aims to set up an affordable home server using Raspberry Pi. If this is your first time here, check out our previous post about home servers.
We’ll cover the following topics:
- Getting Started with a Raspberry Pi as a Home Server [Hardware]
- Installing Raspberry Pi OS [Operating system]
- Raspberry Pi OS First Boot Configuration
- Next Step
Getting Started with a Raspberry Pi as a Home Server
To start your Raspberry Pi journey as a home server, you’ll need the following components:
| Essential | Recommended | Optional |
| Raspberry Pi board | Raspberry Pi 4 Model B – 4GB | Other RPi boards |
| Power Supply | RPi power supply +5.1V 3A | Type C USB cable |
| Storge | Micro SD card 8GB or greater | SSD or HHD of your choice |
| One Time Use | Recommended | Optional |
| Mouse and Keyboard | Any standard USB | Wireless will work if already paired. |
| Monitor or television | HDMI input | |
| A computer | SD card reader |
| Others | Recommended | Optional |
| Ethernet cable | CAT 5E | n/a |
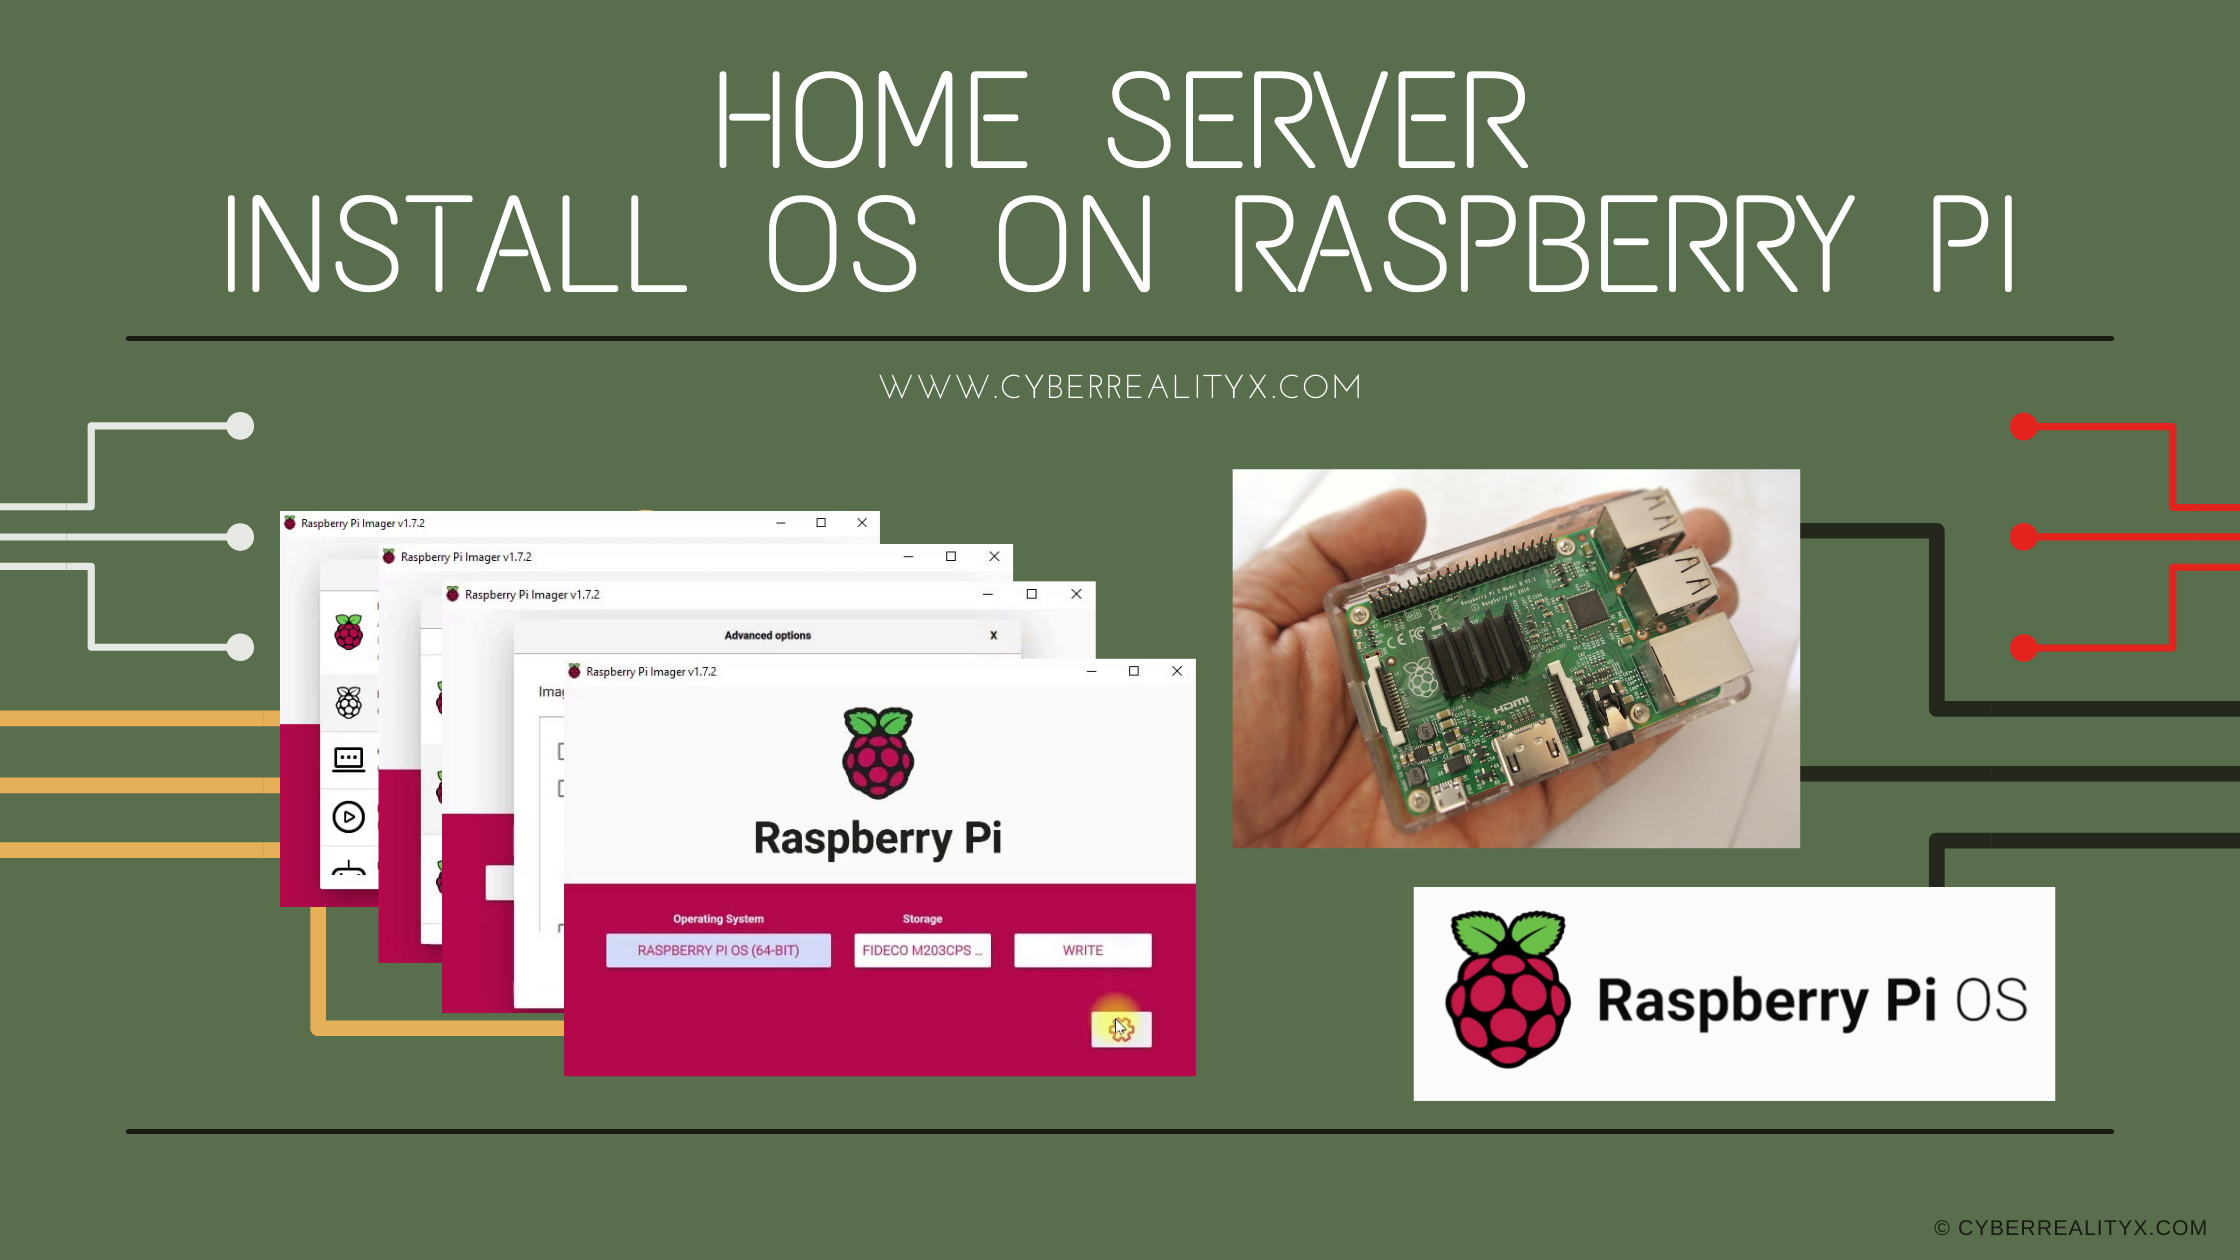
Installing Raspberry Pi Operating System
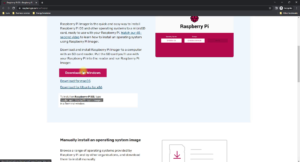
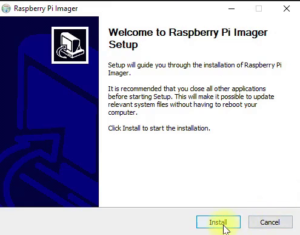
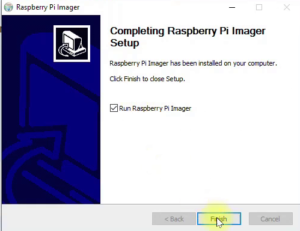
Boot up your computer, connect to the internet, and then download and install the official Raspberry Pi Imager for this link. See Figure (1) and Figure (2. A and B) for instructions.
There are other methods for installing RPi OS; however, using Raspberry Pi Imager is the most convenient choice for most people because it will download the image and install it on your hard drive directly.
|
|
|
|
|
|
How to use Raspberry Pi Imager to install RPi OS
- Step 1: Insert your SD card or USB drive into the computer.
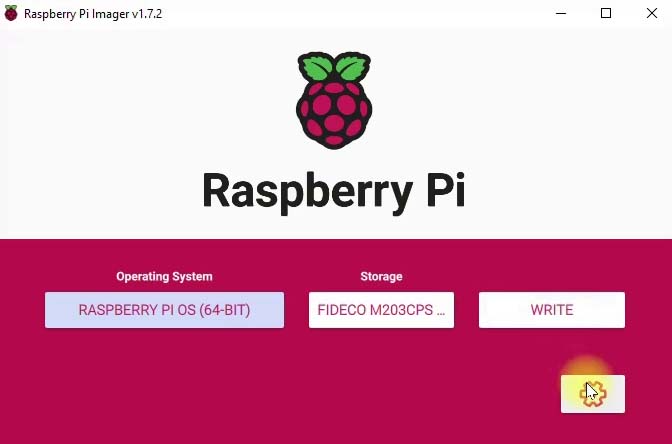
- Step 2: Run Raspberry Pi Imager, See Figure (3).
- Step 3: Select your storge (SD card or USB drive), Figure (4).
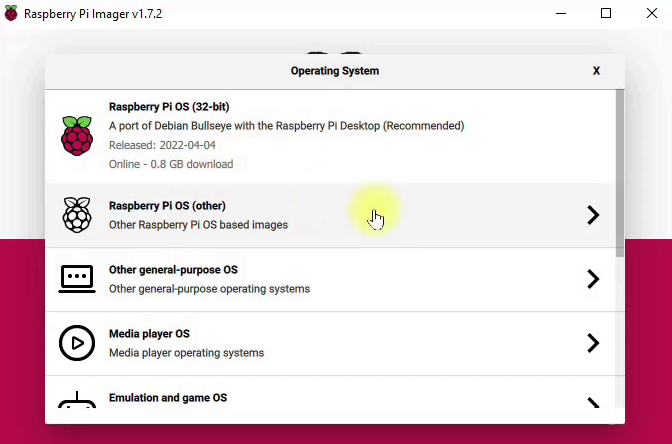
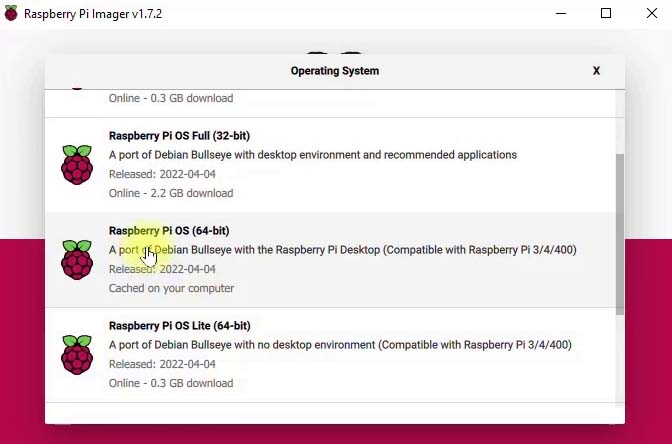
- Step 4: Choose the operation system, Figure (5. A).
- 32 bit.
- 64 bit, recommended for a home server, Figure (5. B).
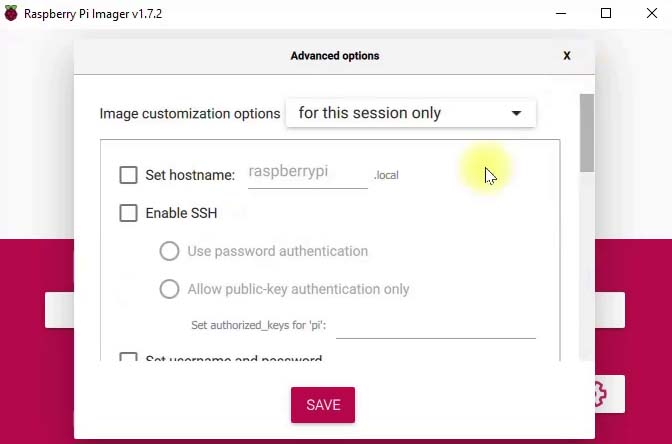
- Step 5: (optional)Preconfiger Operation System (CTRL+SHIFT+X) or click on the gear symbol, Figure (6. A-B).
- Hostname.
- Enable SSH.
- Username and password.
- Wireless configuration.
- Time Zone.
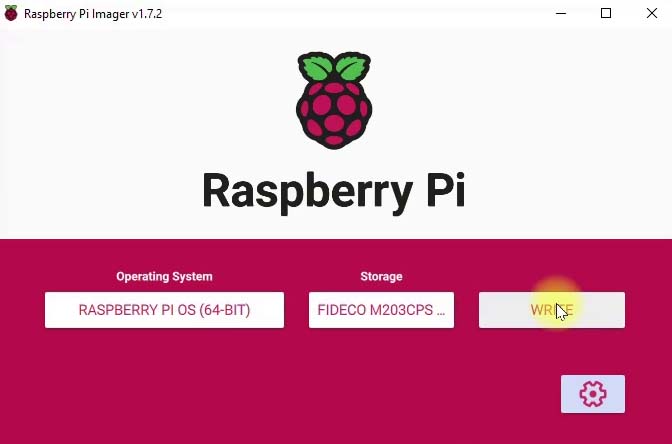
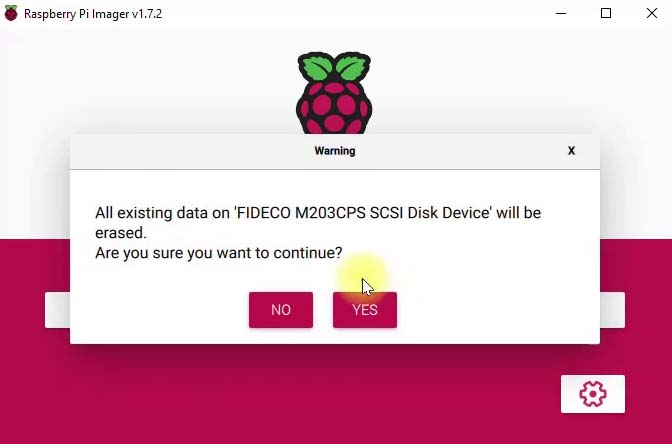
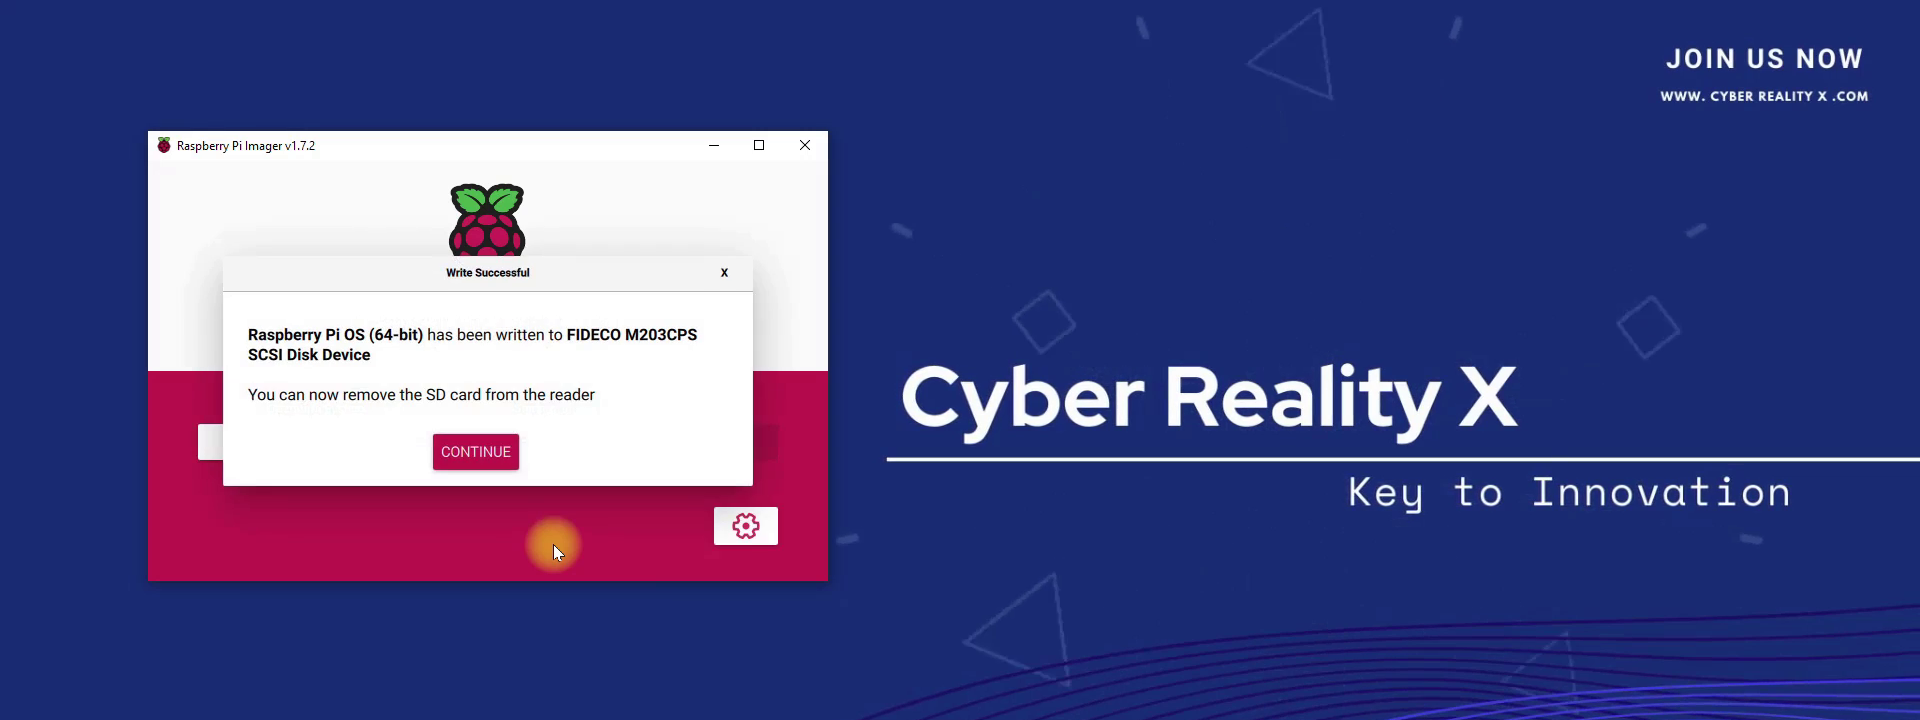
- Step 6: Write and verify your storage, Figure (7. A-B).
- Step 7: Remove the storage drive, Figure (8).
- Step 8: Connect your SD card or hard drive to your Raspberry Pi and turn it on.
|
|
|
|
|
|
|
|
|
|
|
|
|
|
|
|
|
|


Raspberry Pi OS First Boot Configuration
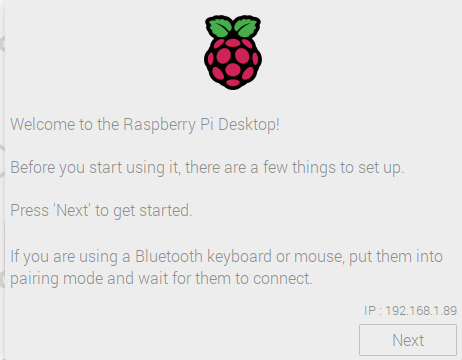
If you have not already configured your operating system in step 5 using the Advanced Menu of Raspberry Pi Imager, then when Raspberry Pi OS starts up for the first time, you will need to complete the following steps:
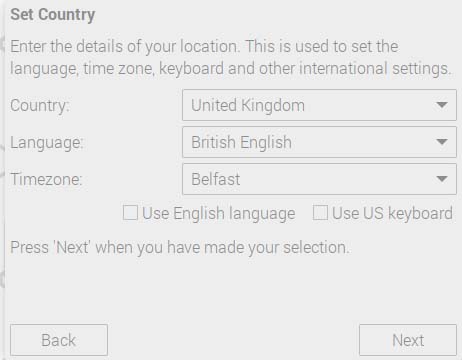
- Welcome screen and timezone configuration, Figure (9. A-B).
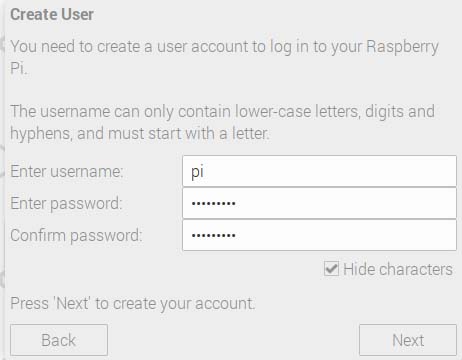
- Set up username and password, Figure(10).
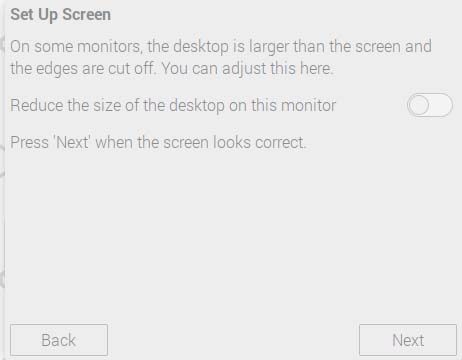
- Screen configuration, Figure (11).
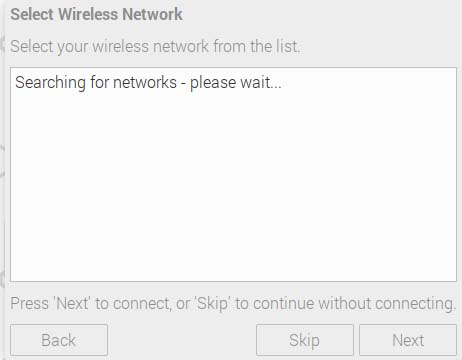
- configure your wireless network, Figure (12).
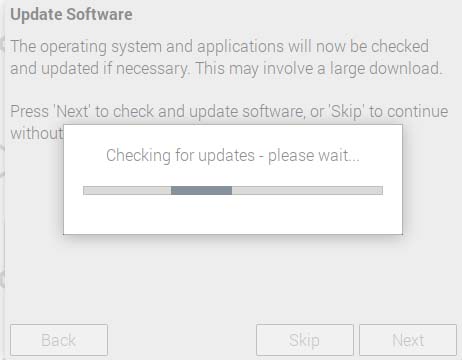
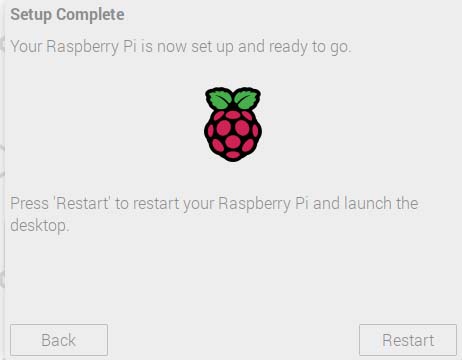
- Update Raspberry Pi OS & reboot, Figure (13. A-B).
|
|
|
|
|
|
|
|
|
|
|
|
|
|
|
Next Step
Now you have your RPi home server ready to install your first home server application (service).
For the list of services, check out this article.
For more tutorials about RPi home server services, click here.
What to do?
- Subscribe to our Newsletter.
- Follow our pages on social media Facebook, Twitter, Instagram and LinkedIn.
- Leave us a comment.
- For more information Contact Us.
- Don’t forget to Check Out Our Other Articles.
THANK YOU & HAVE A WONDERFUL DAY!